Getting started with Plan.UseWise®
Plan.UseWise® is a cost center planning SaaS solution that enables Controlling simple creation of the planning cycle and empowers managers and line managers to collaborate on budgeting, expense allocation and reporting. Plan.UseWise® is integrated with Microsoft 365 and this brings ease of use and power of collaboration to the cost center planning process.
Plan.UseWise® app is available on both Microsoft Azure and Microsoft AppSource Marketplace. To get started with Plan.UseWise® app, go to https://usewise.app/plan-usewise/ and select your marketplace from where you want to purchase the app – Microsoft Azure or AppSource marketplace. Upon installation, there is an initial setup of the application that needs to be done by Microsoft 365 global admin or someone else with sufficient Microsoft 365 administration rights.
Plan.UseWise® installation from Microsoft Azure Marketplace
To install Plan.UseWise® app from the Microsoft Azure marketplace, follow these steps:
- Log in to the Azure portal at portal.azure.com with your Microsoft account credentials.
- Navigate to Azure Marketplace to find Plan.UseWise® or use the following link to locate the app. Once you find the app, you can check plans and pricing, and review information about the app.
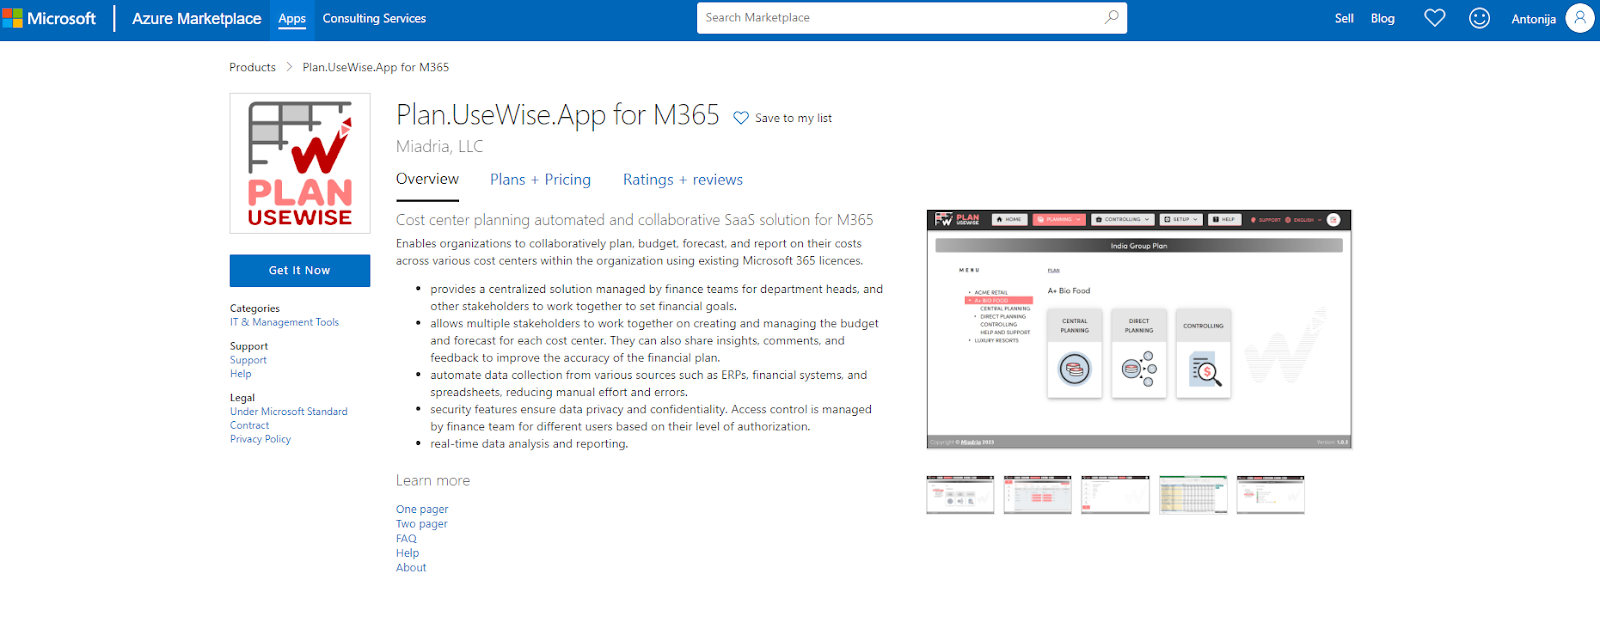
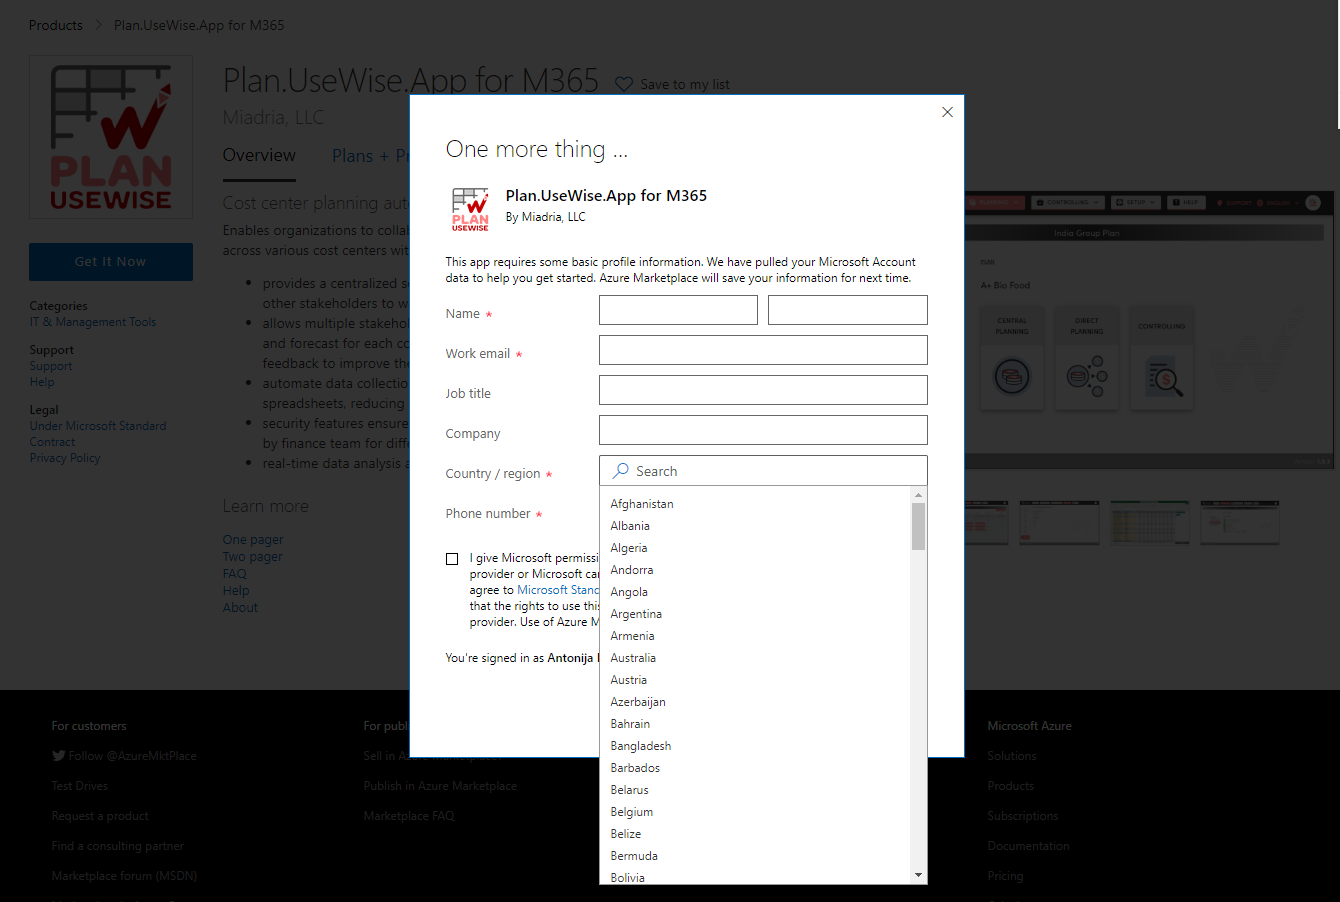
- Click on the “Get it now” button and fill out the form with basic information, accept the terms, and continue with the installation process.
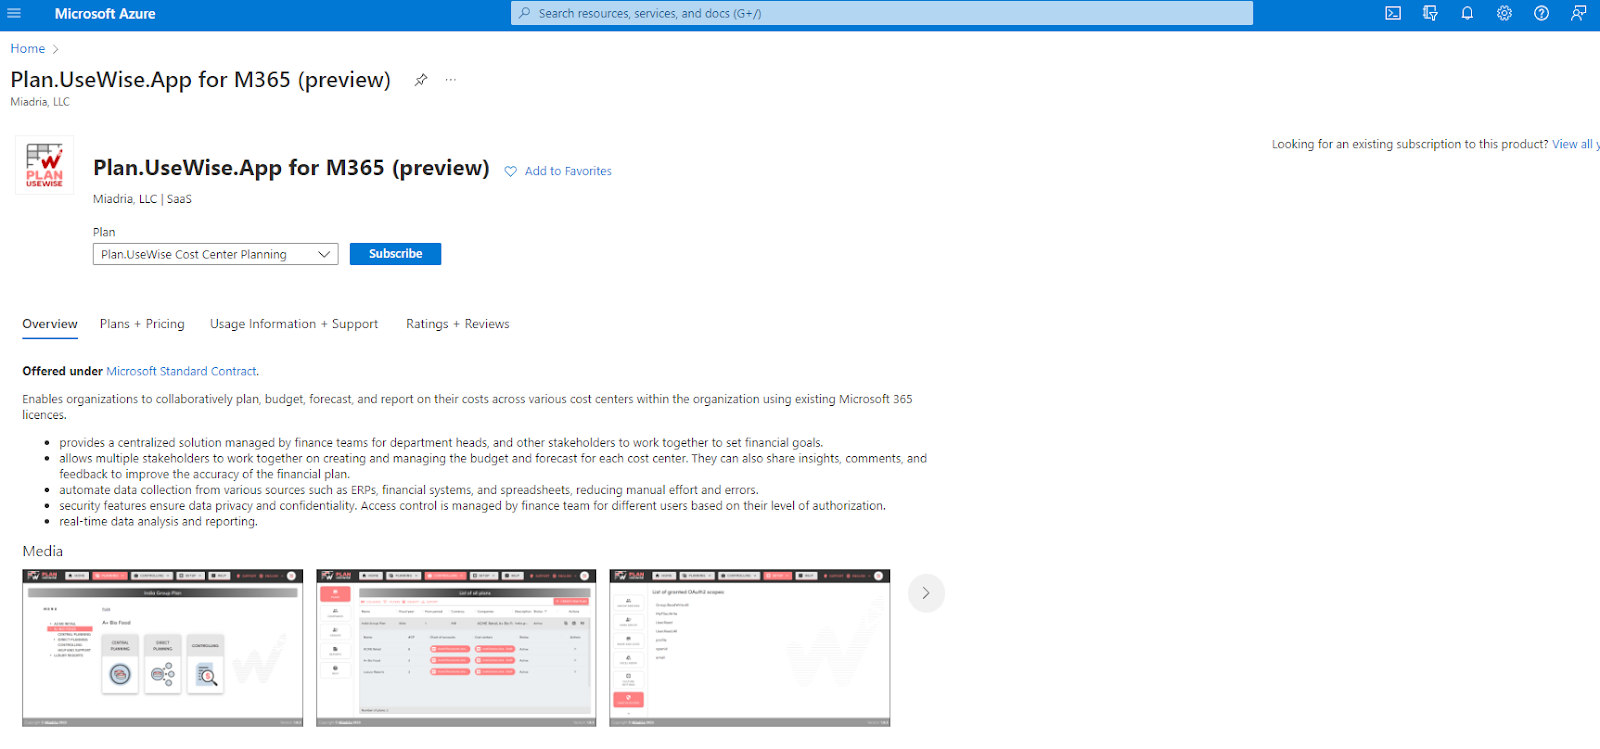
- You will be automatically transferred to the page where you can choose your subscription plan. After selecting your subscription plan, select “Subscribe” button.
Note: In case you don’t have an Azure active subscription, you will be prompted to create one in this step.
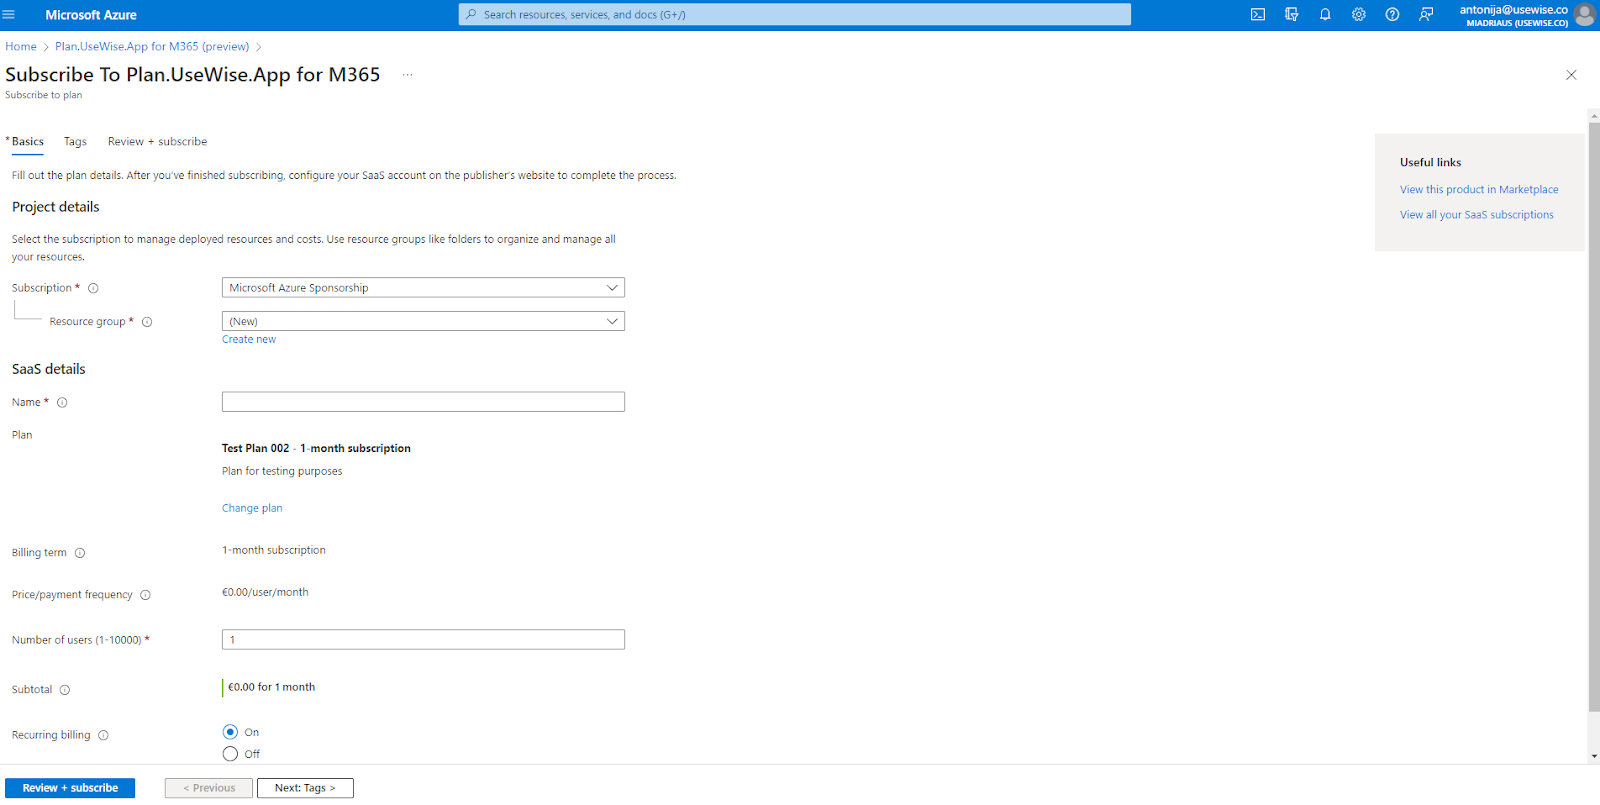
- In the next step, you need to select the subscription and resource group where you want to install the app. Complete the required fields such as web app name and the number of users. You can also choose to have recurring billing on or off. Unless you want to add some tags, select “Review and subscribe” to continue.
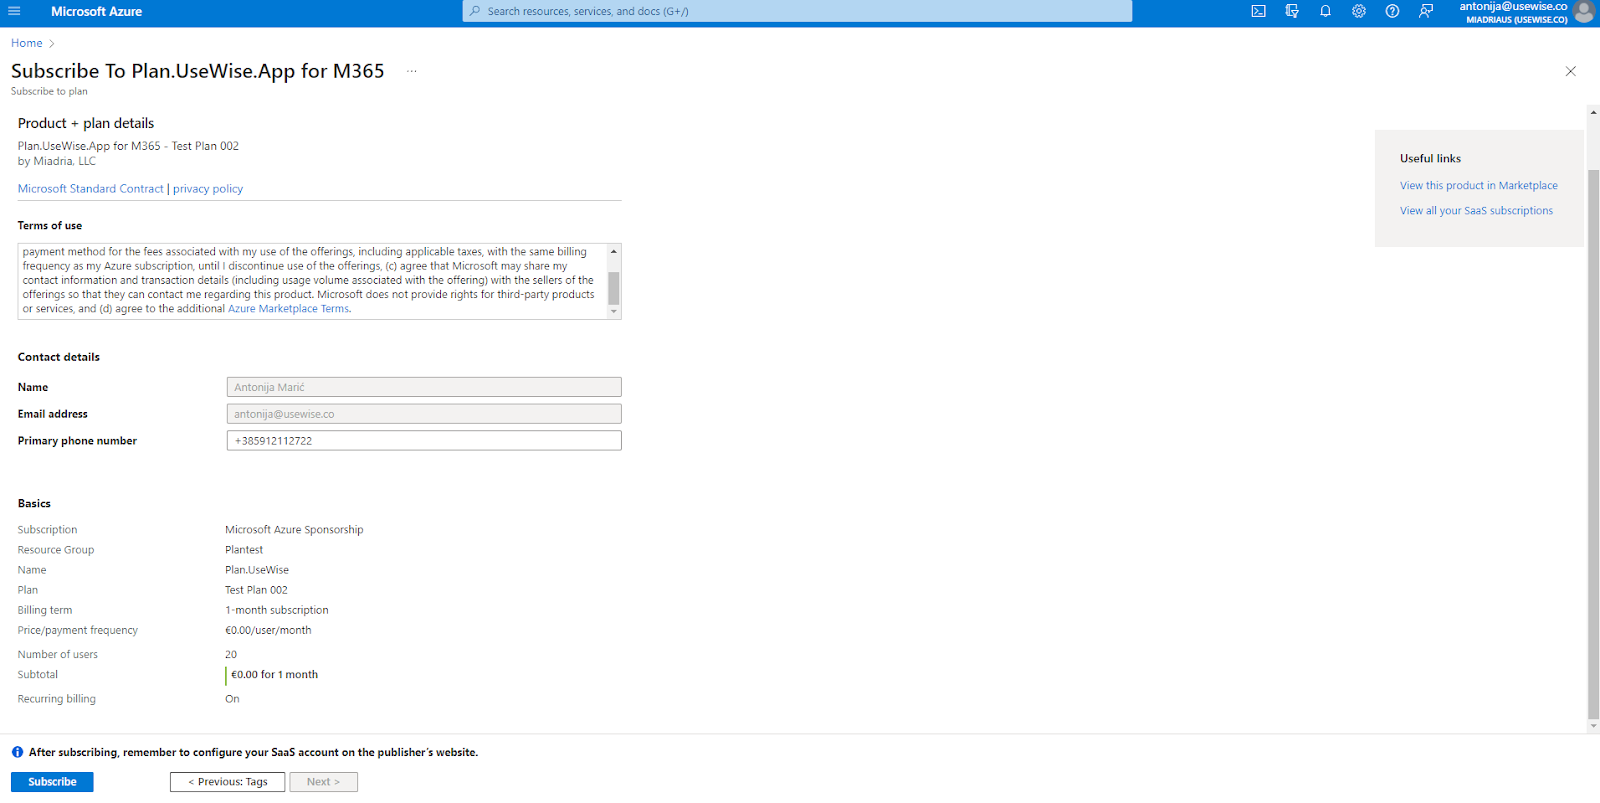
- Now check your contact and subscription details and select Subscribe.
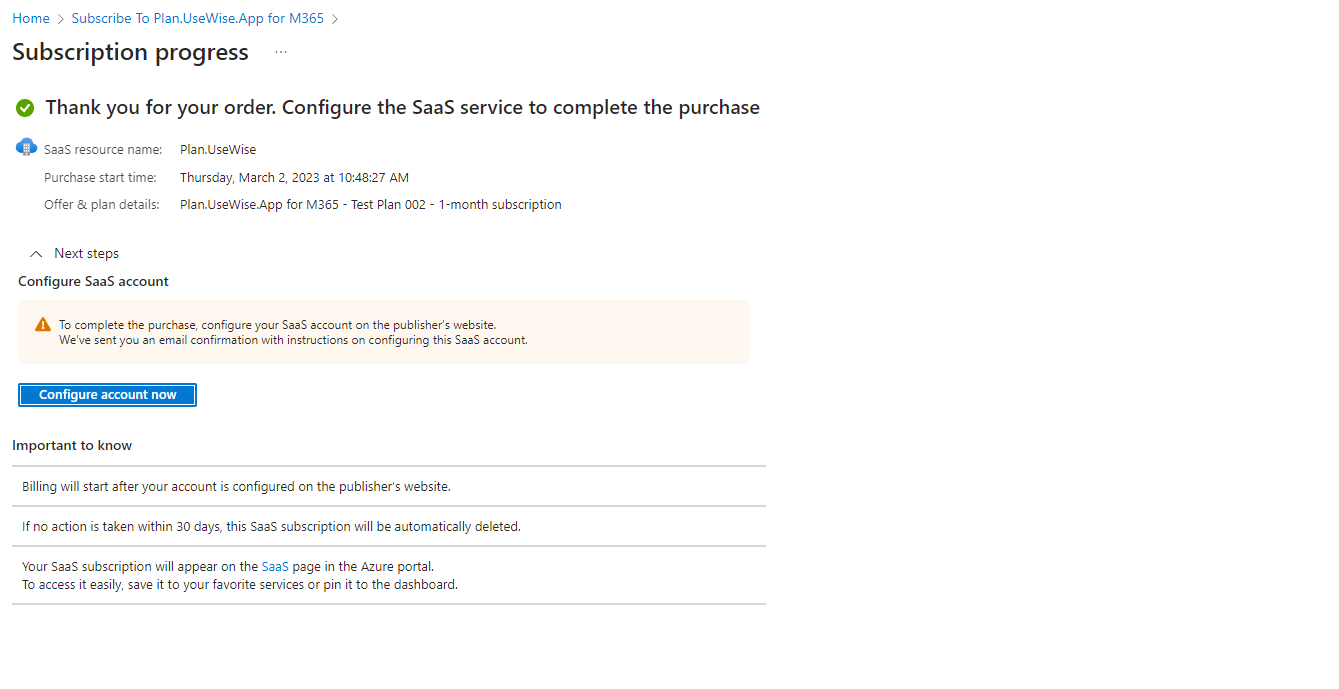
- To complete the purchase you need to configure the SaaS service. Click on the “Configure account now” button.
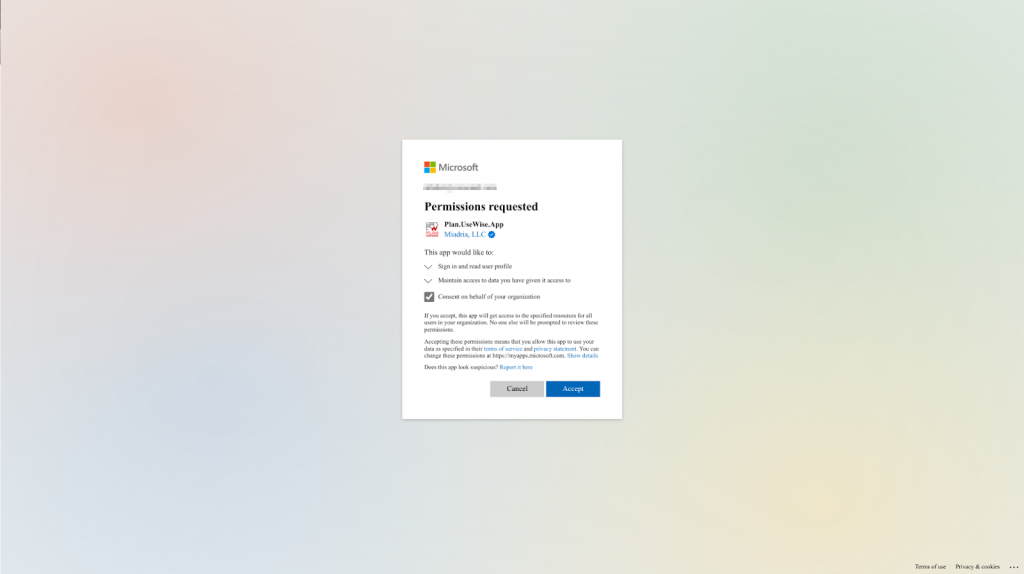
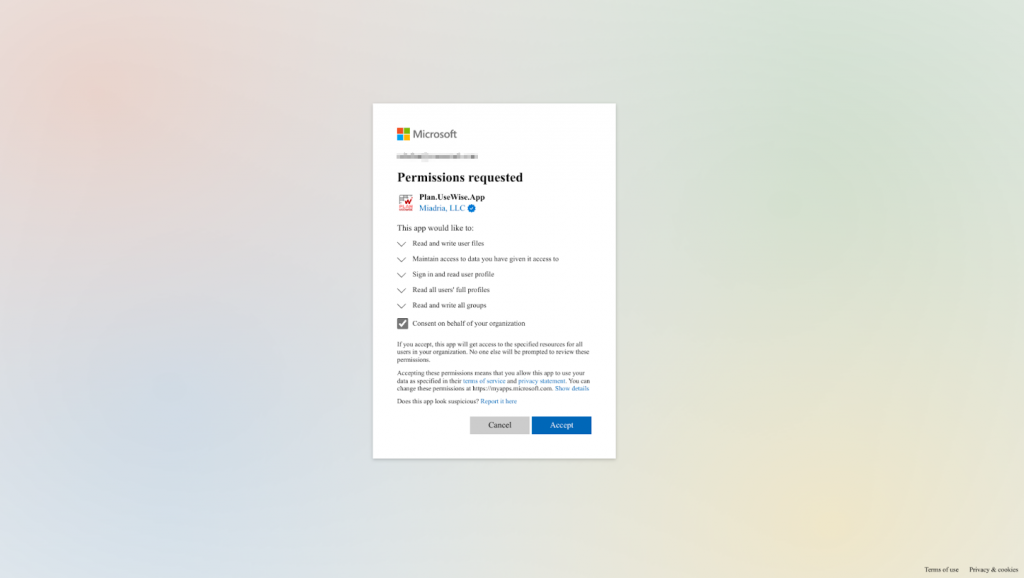
- In the next step, you need to grant OAuth2 scopes. Check the box next to “Consent on behalf of your organization” and click “Accept“.
9. After that, you will be transferred to a page from where you can review the subscription details and activate it. Click on the “Start Plan.UseWise® app” button to continue.

10. Grant OAuth2 scopes to the application (you may be asked twice to do it). Check the box next to “Consent on behalf of your organization” and click “Accept“.
Plan.UseWise® app application setup page will be opened, and you are ready for the initial setup.
Plan.UseWise® app initial setup
Once the Plan.UseWise® app is installed, it requires some configuration by the global admin before the end users, controlling team and planners can start using the app. During the installation process, the admin will be automatically transferred to Plan.UseWise® set up a page from where the following steps need to be completed:
- Create Microsoft 365 group prefixes
- Create Microsoft 365 group
- Add company name and logo
- Deploy Excel add-in
- Configure culture settings
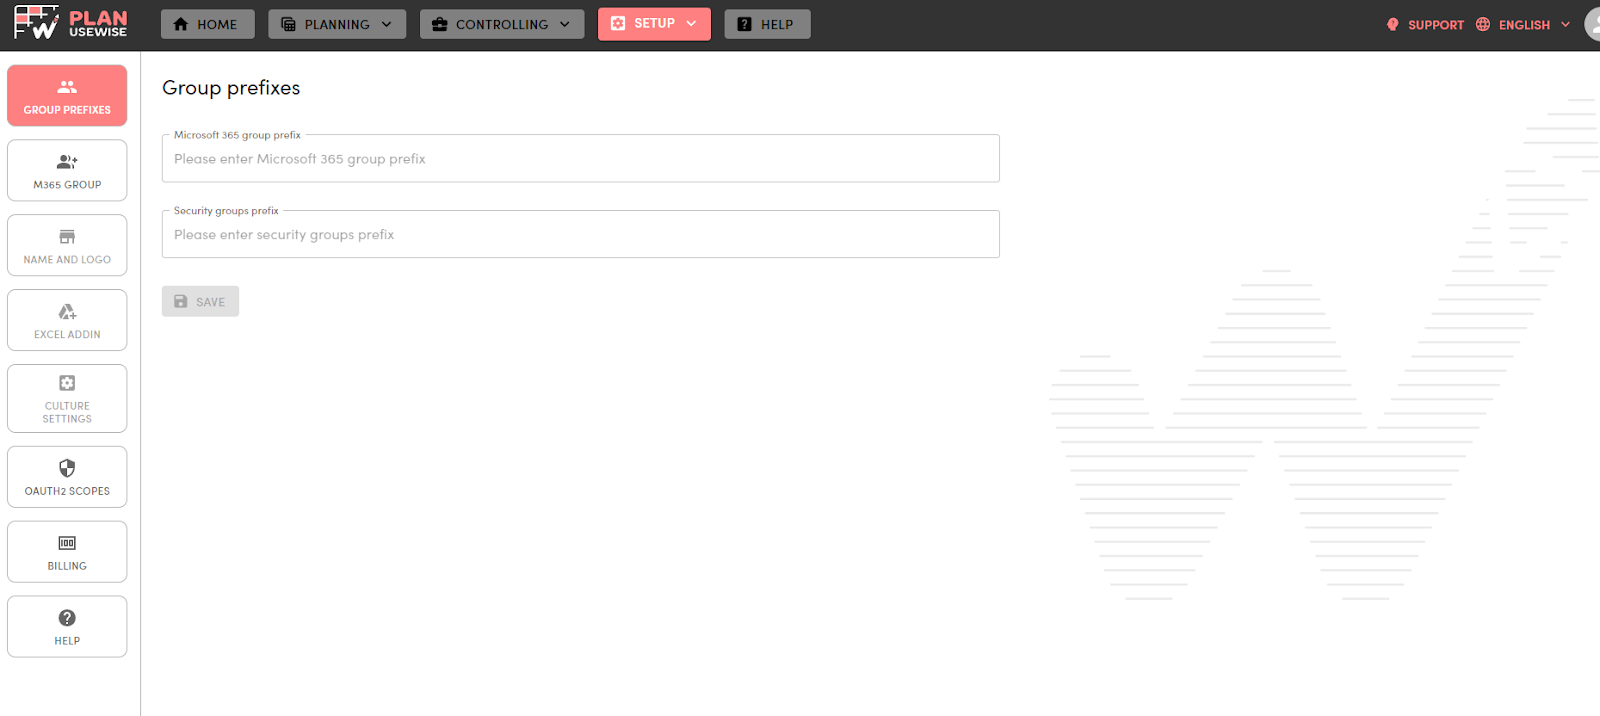
1. Create Microsoft 365 group prefixes
During plan creation, Plan.UseWise® will create one Microsoft 365 group and a number of security groups that will be used to manage access to individual tables and folders. In this step, the administrator needs to add prefixes that will be used for those groups to differentiate them and to follow the company naming convention.
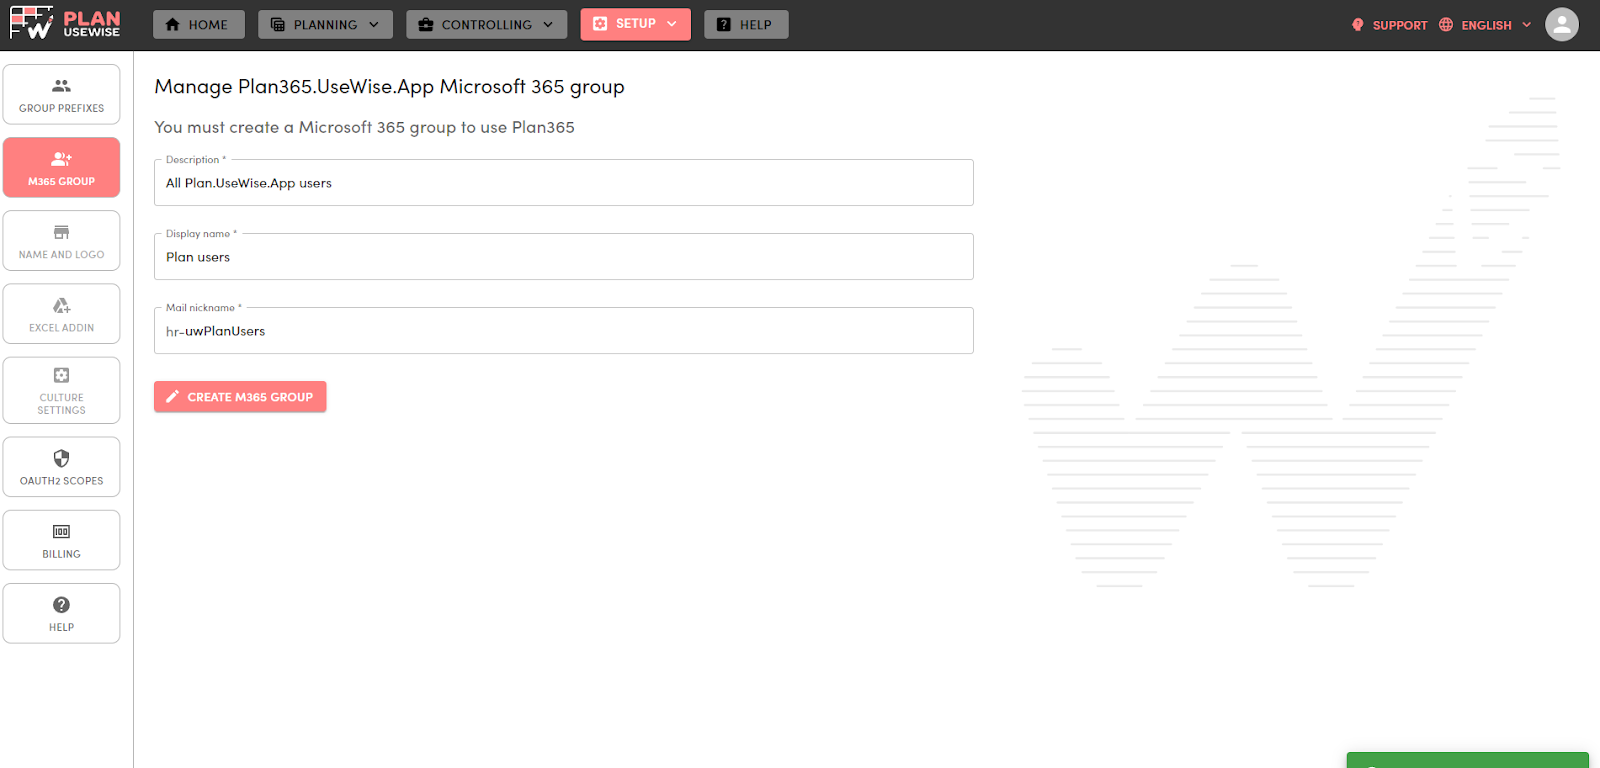
2. Create Microsoft 365 group
The next step is to create Microsoft 365 group that will be used to store files on the group SharePoint document library. In the M365 group menu, enter the group description, name, and mail nickname.
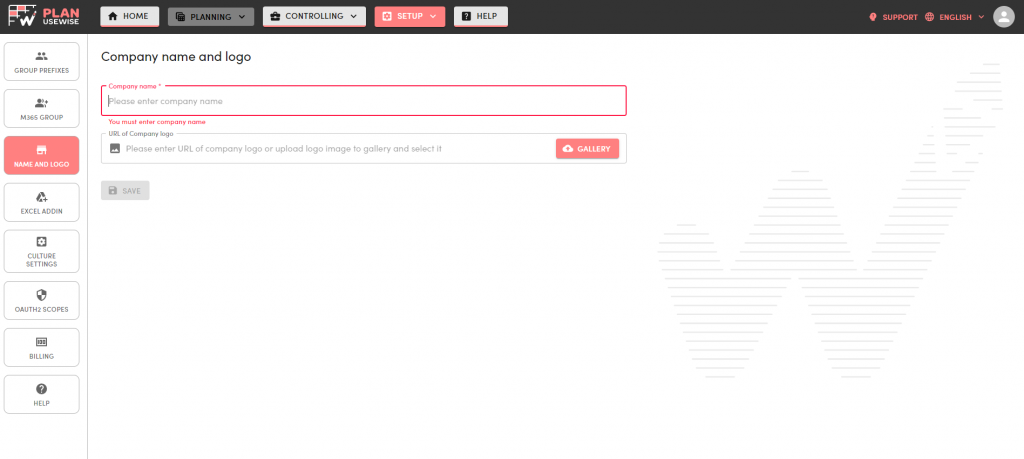
3. Add company name and logo
Under the Name and logo tab, enter the company name, provide a logo image URL, and save changes.
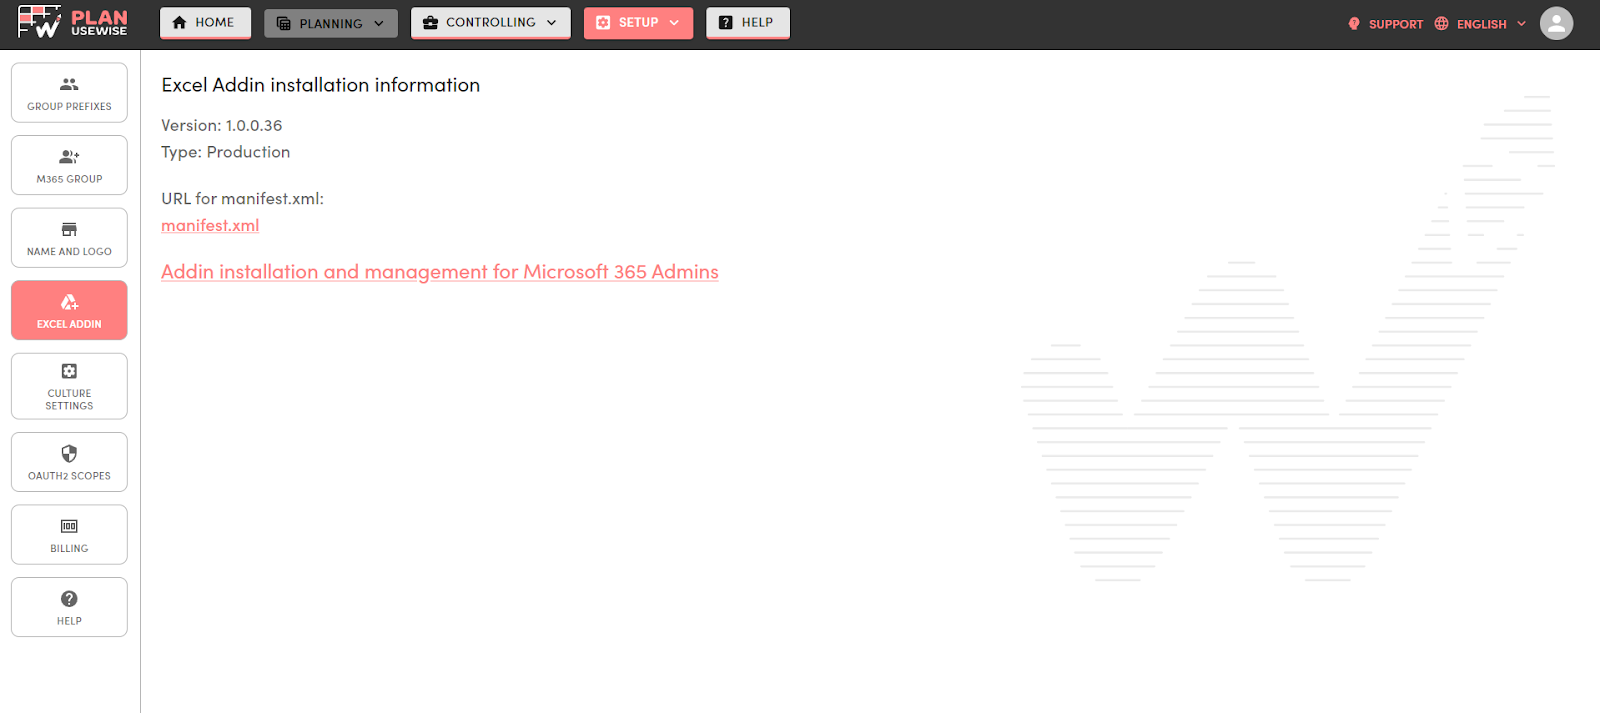
4. Deploy Plan.UseWise® Excel add-in
Plan.UseWise® includes an Excel add-in that is used to provide functionalities when working on planning tables – locking table for further entry, data import, summary division, updating reports and other features. As a part of the setup, an add-in needs to be deployed in Microsoft 365 admin center.
To install Plan.UseWise® add-in follow these steps:
- On the Excel add-in tab of the setup page, screen select “Add-in installation and management from Microsoft 365 admins”. You will be automatically transferred to Microsoft 365 integrated apps menu where you need to select the “Upload custom apps” option.
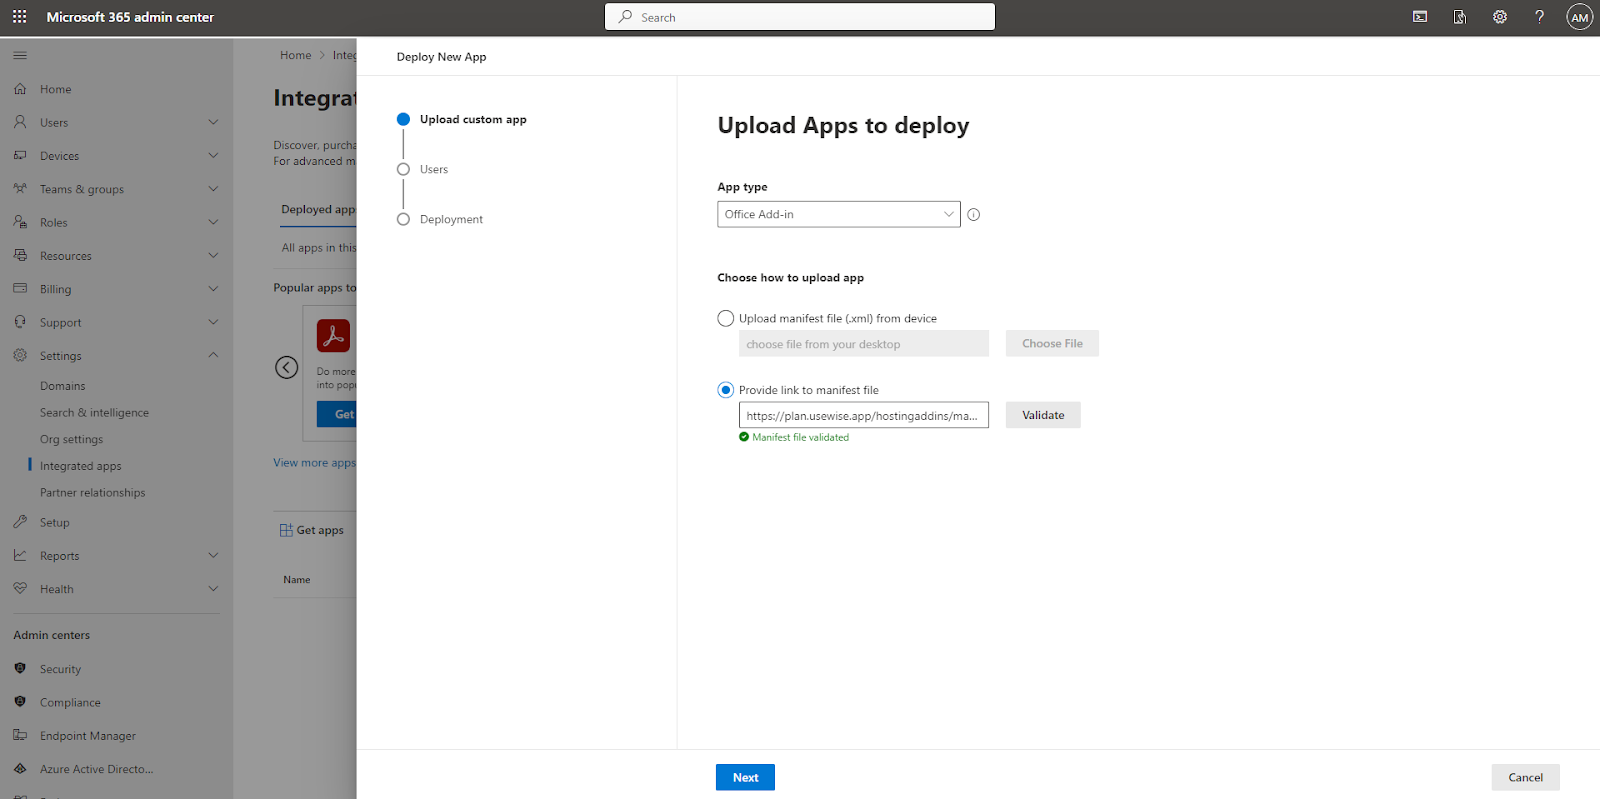
- The deployment wizard will open where you need to select Office add-in as app type and select Provide a link to manifest file.
- Go back to Plan.UseWise® set up page and click manifest.xml URL. Copy the URL and paste it to the app deployment wizard and click validate. Once the manifest file is validated, click Next to continue.
- Next, you need to assign the add-in to a group. Select the specific users/groups option and look for the Microsoft 365 group that you created in the previous step. Click Next when done.
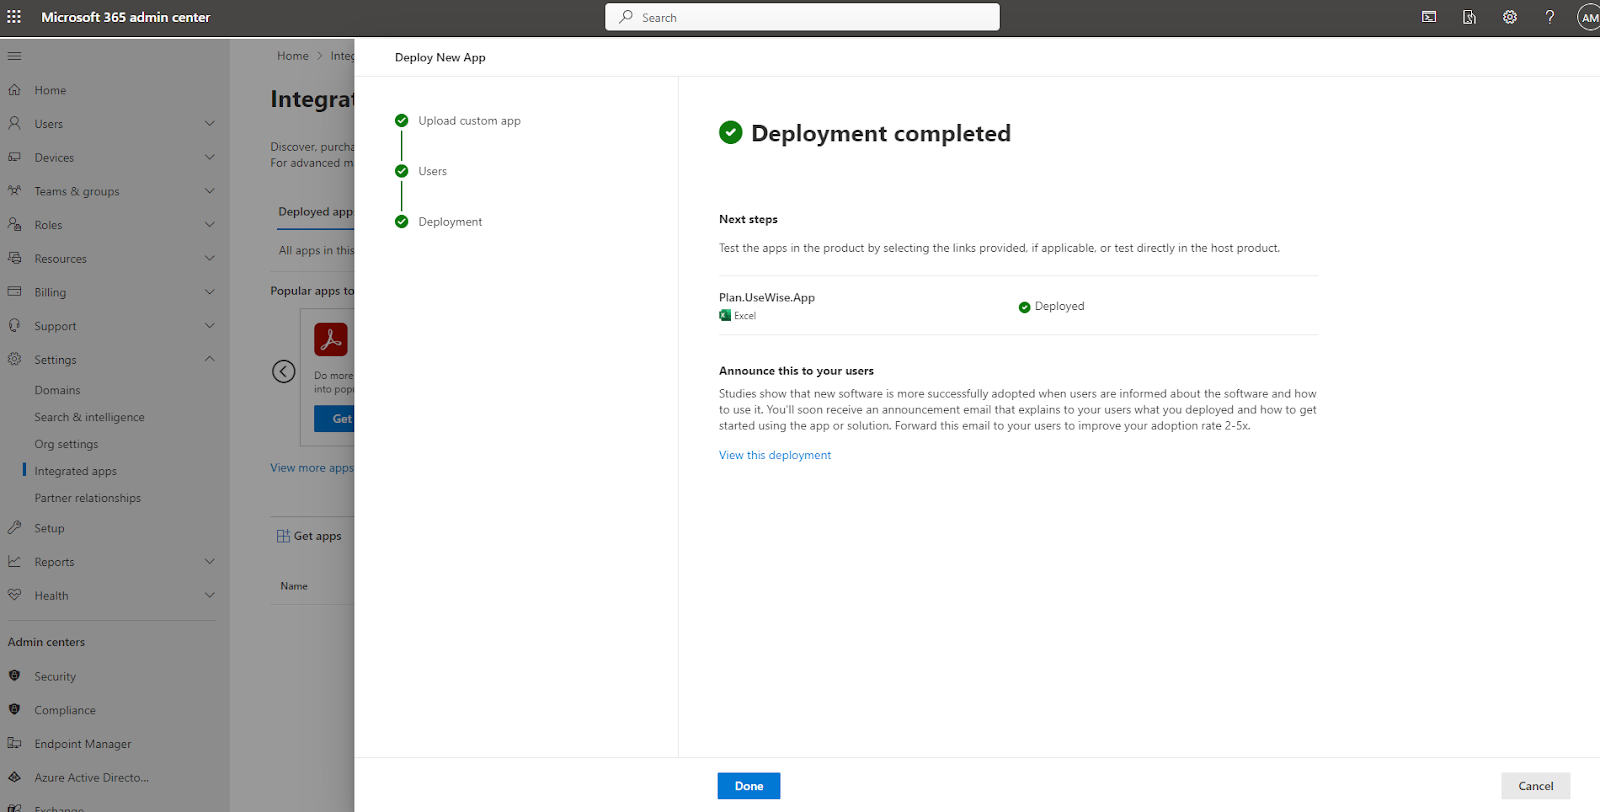
- The next step is to accept permissions requests by clicking on the Accept permissions button and following the instructions. Once that is done you will get information that the deployment is completed. Click Done to finish.
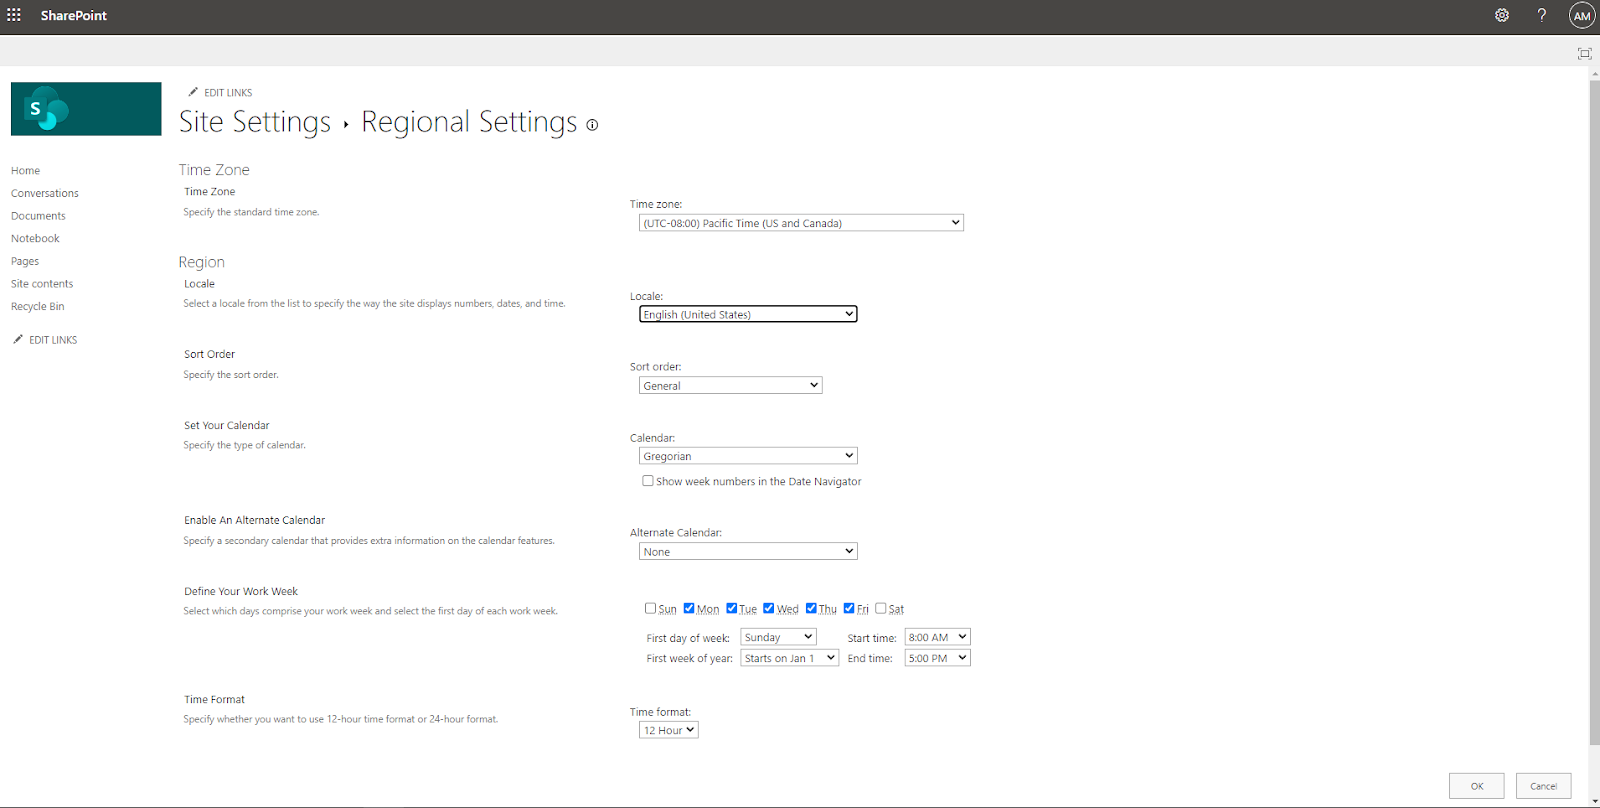
5. Configure culture settings
Within Plan.UseWise® set up page, in the Culture settings menu, you can set SharePoint language and culture settings and specify the way how numbers, dates and time are displayed in Excel spreadsheets.
Once these setup steps are completed, the controlling team can start working on generating and managing plans based on the chart of accounts and cost center structure.
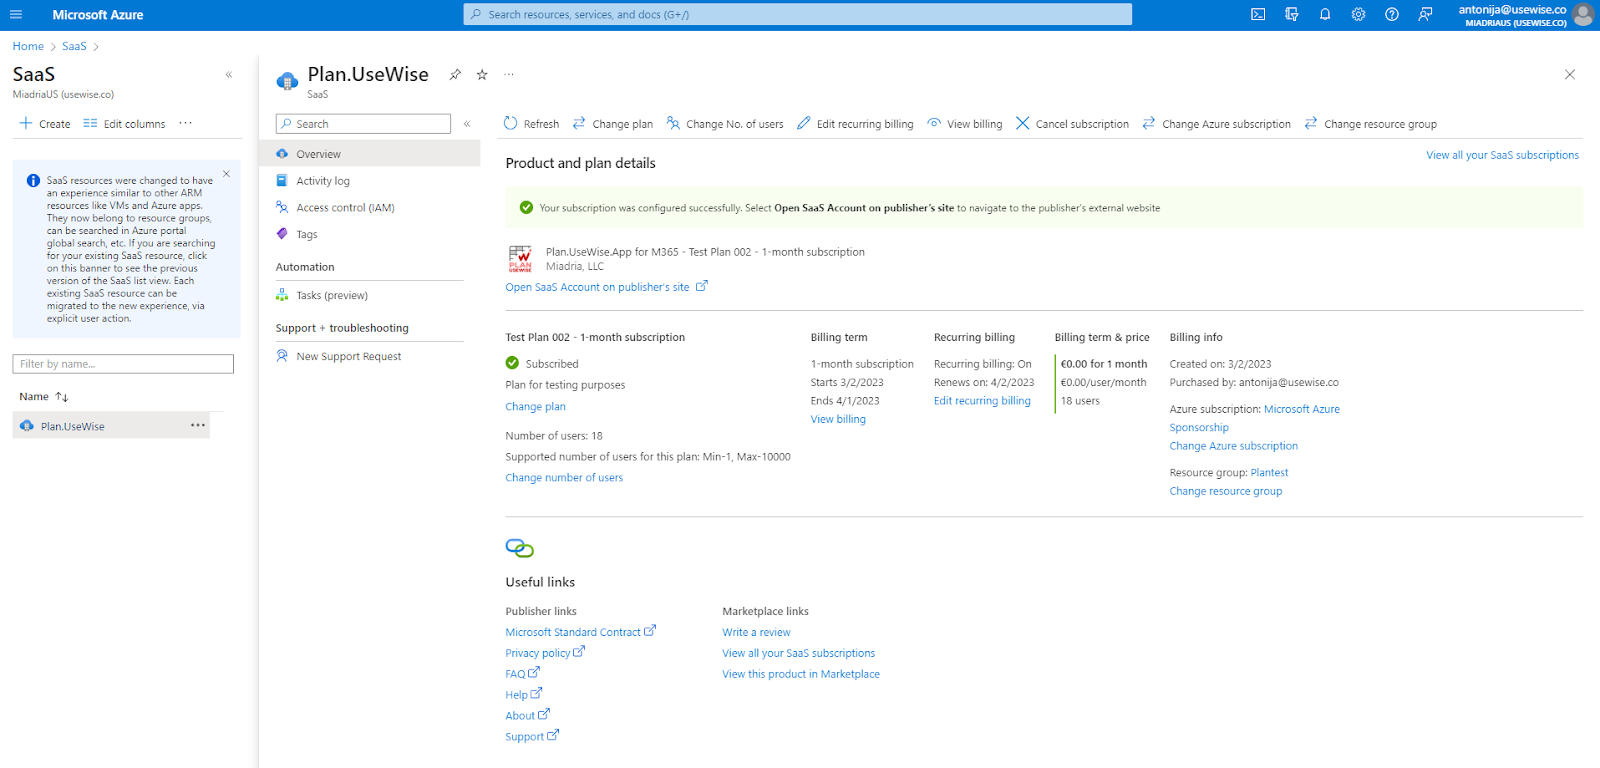
Managing Plan.UseWise® app subscription
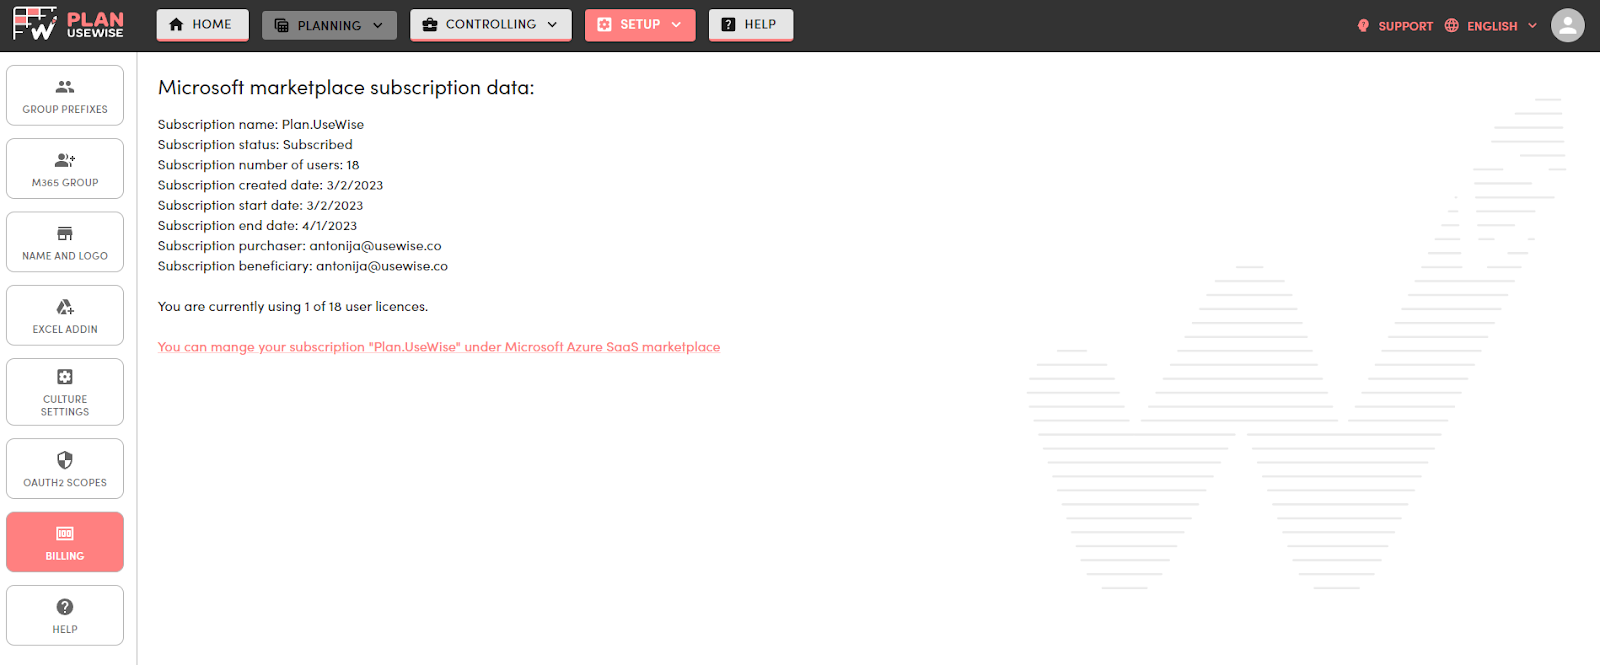
Within the Microsoft Azure portal, there is a tool that helps administrators to manage Plan.UseWise® SaaS subscription. To access those settings, within Plan.UseWise® app setup page select Billing from the side menu.
From here you can see subscription details, such as name, status, number of users and other important information regarding your subscription. Click on the link below, to access the subscription settings. If prompted, log into the Azure portal.
You will be transferred to the Azure portal SaaS management page from where you can choose the Plan.UsWise SaaS service.
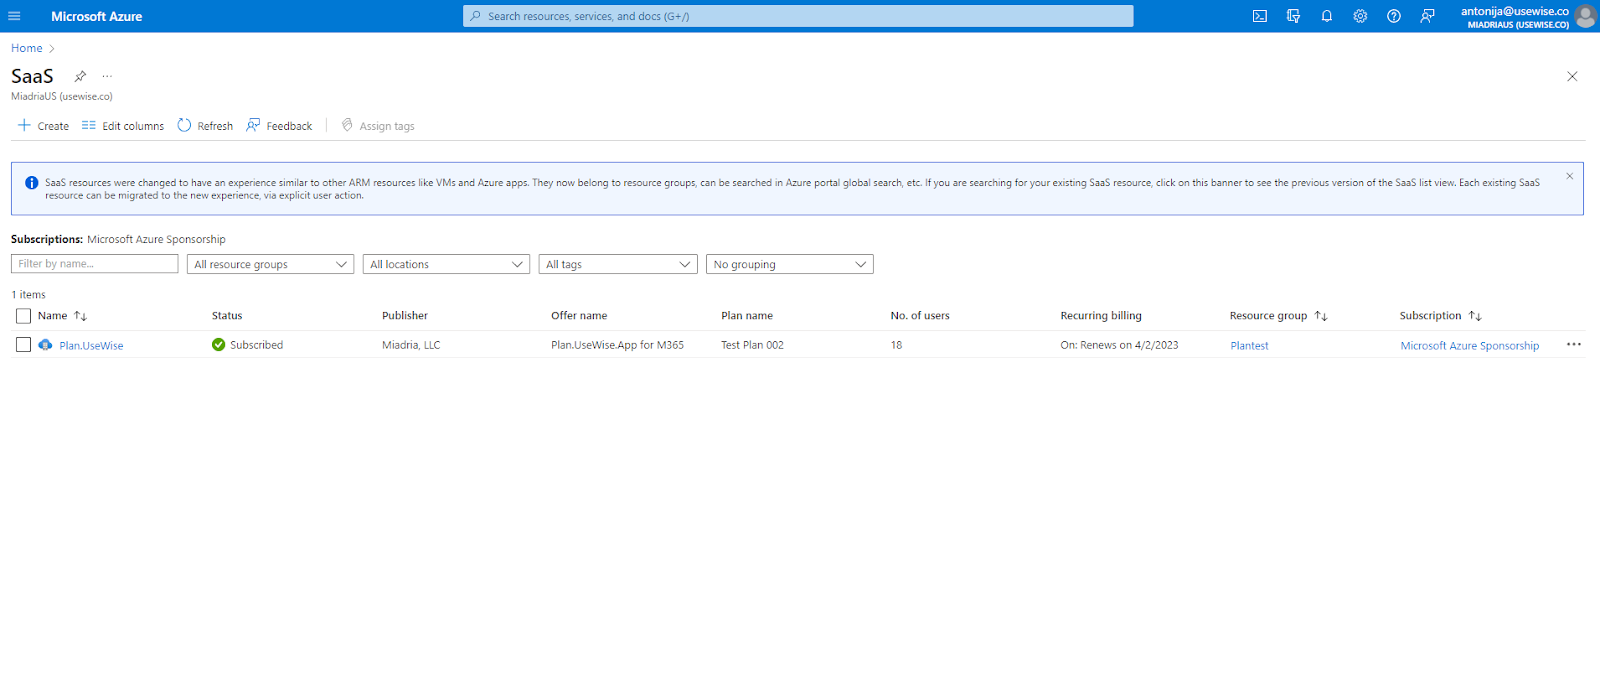
After selecting Plan.UseWise® you will get more information about your subscription with options to manage settings such as the number of users by clicking on the Change number of users. You can also change the plan, view billing and edit recurring billing settings.